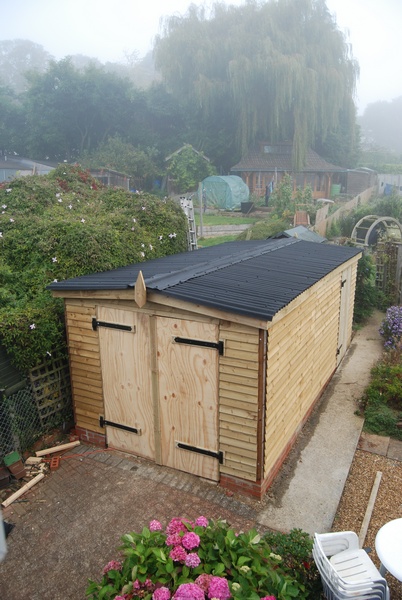
No. 1 Hut
Entered in the workshop catergory of Shed of the Year competition 2015 Shed of the year

|
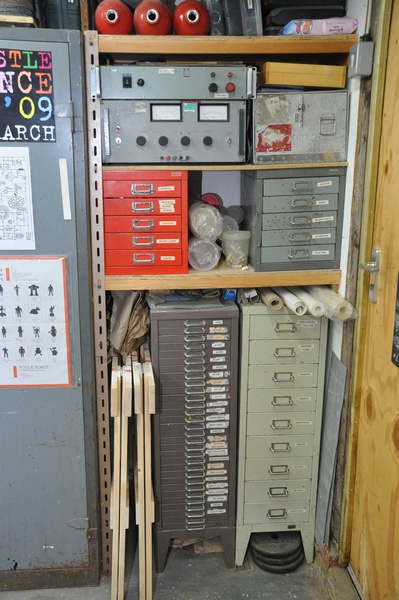
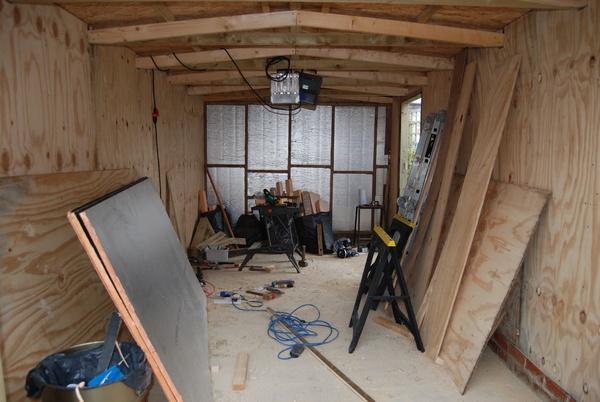
| The workshop Interior |
|
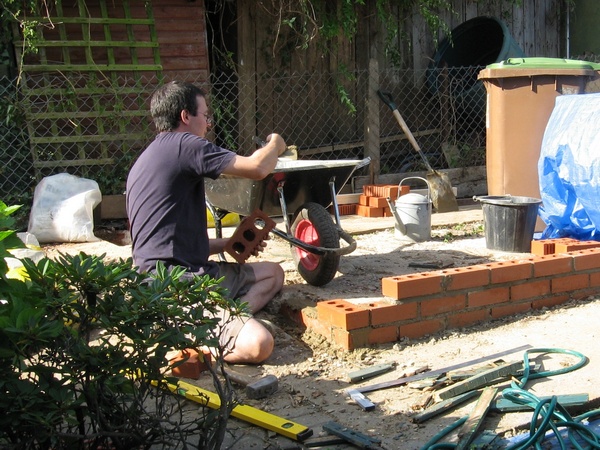
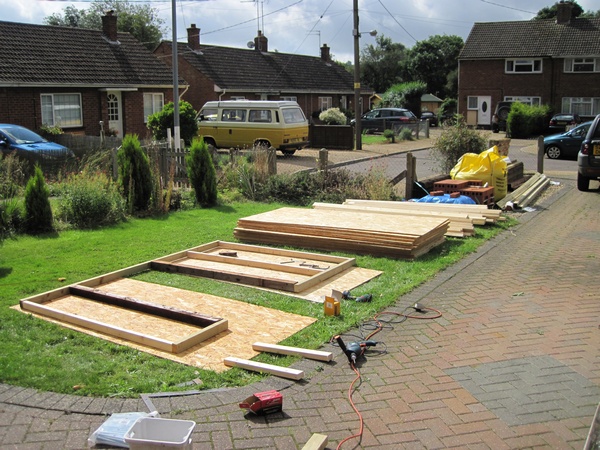
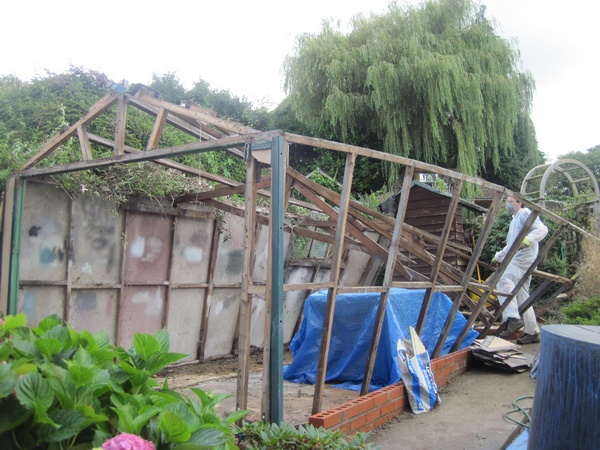
| During the build |
|
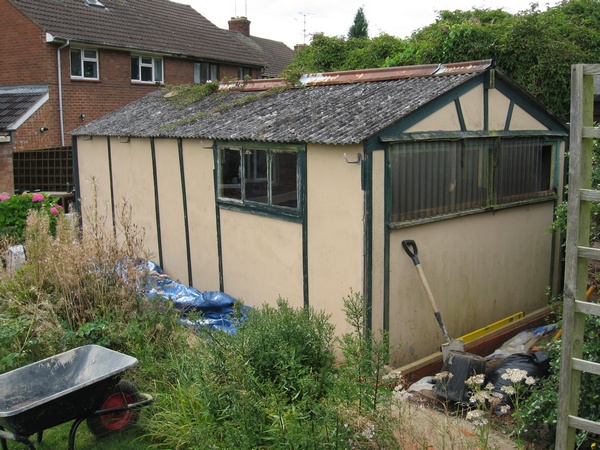
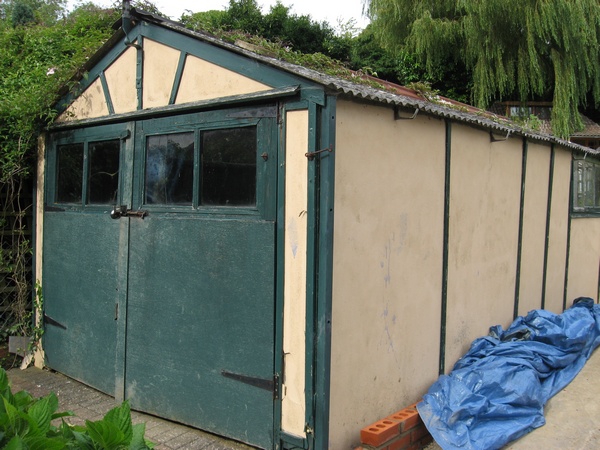
| The old garage |
My shed � No. 1 Hut, is a workshop, entirely scratch built by myself in late Summer 2012.
The
shed replaces a 1950s asbestos cement sheet garage that was in place
when I bought the house in May 2012. I felt sure that given a kick in
the right place it would have completely collapsed - a notion borne out
by the ease of demolition when the time came. The frame had rotted
through, particularly in places where the exterior ground level was
higher than the concrete base.
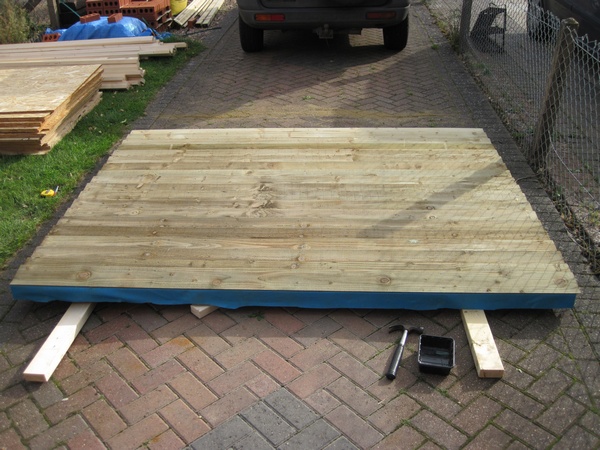
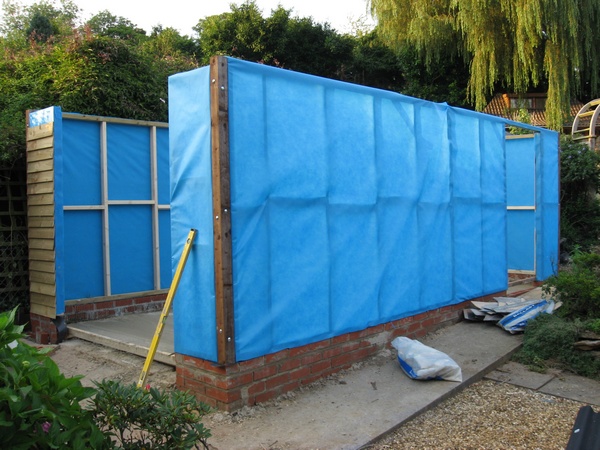
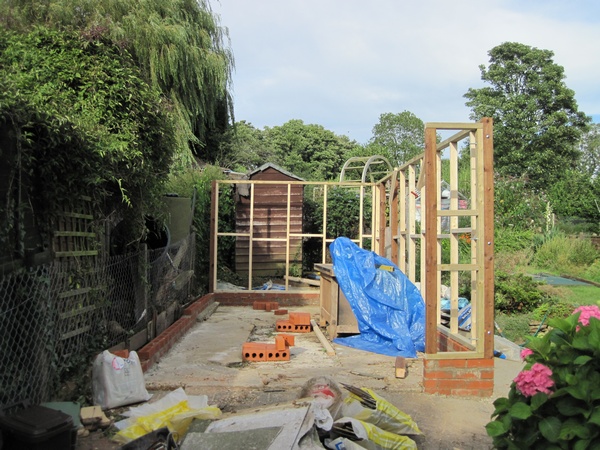
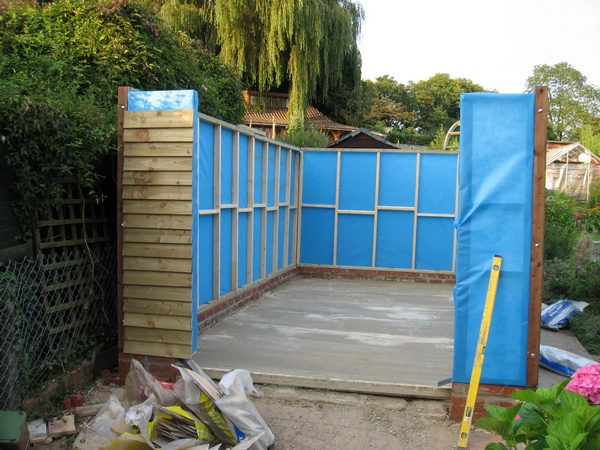
The timber frame for the new
workshop is built on a low engineering brick wall, built to get the
timber well out of the ground, as the garden is on a slope. I made
partial use of the existing concrete base so I didn�t have to
completely start from scratch, capping off the filled in old inspection
pit and laying approx 50mm of concrete with integral reinforcing mesh
to get a flat and level floor.
I have used almost entirely new
materials, primarily from the local builder�s merchant (TBS in
Daventry) and from a local fencing supplier (Mainline Timber in
Woodford Halse). Some items, such as insulation, were bought as seconds
and oddments such as floor paint and shelving timber scrounged or
re-purposed. This approach was taken due to the need to get the project
completed quickly so my tools didn�t clutter the house for too long,
and so I have somewhere to work on house projects I need to complete.
The
frame construction is mostly 3�x 2� timber - pressure-treated in some
places where required - with 3� x 3� fence posts in the corners and 2�x
4� making up roof trusses. The exterior is clad in 120mm wide
pressure-treated weatherboard over a Tyvek type membrane.
Walls
are insulated with 65mm rigid insulation - Kingspan seconds - and
internally clad with 12mm thick ply, allowing me to easily fix things
to the inside where required. Internally it is finished off with a
white paint on the walls and a grey floor paint. Cupboards etc. are
random colours from using up paint.
The roof consists of 50mm
longitudinal stringers fixed to home built trusses, topped with OSB and
25x38mm battens. In-between these are more insulation - 25mm this time
- topped off with Coraline (bitumastic) sheeting. Barge boards are
gravel boards and are fitted all the way round with standard house
guttering used for rainwater capture, feeding a water-butt.
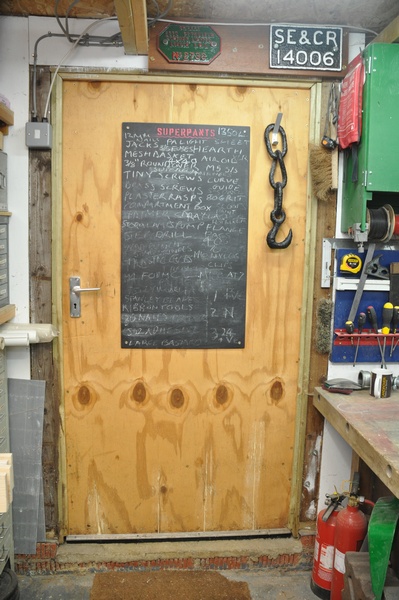
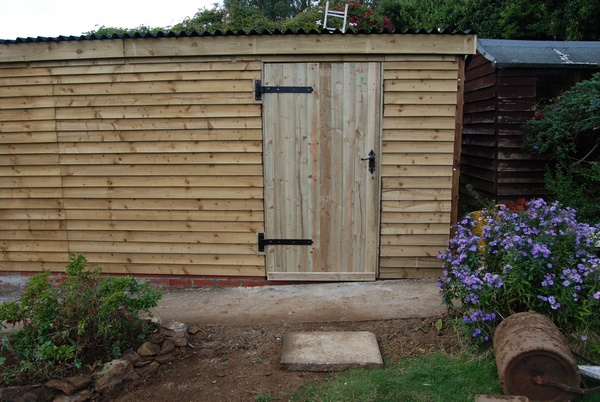
Doors are ply and 2� x 4� construction on the front and close-boarded timber over a 2� x 4� frame for the personnel door.
The
workshop has been designed to give me over 6ft clear height
everywhere inside so that I am not going to hit my head, and to allow
storage cupboards and shelving of a decent height to be installed. The
whole workshop is less than the 2.5m height required by the building
regs and so has a relatively shallow roof. The floor area is just under
the maximum permitted 15sqm.
The name No. 1 Hut comes from a
great little shed at Dungeness in Kent, an area I used to spend some of
my holidays as a kid. These huts formed part of a Decca radar testing
station - a slightly mysterious place in the fog.....
No. 1 Hut
is joined by No. 2 Hut which is racked out as a store shed - this way I
can keep the workshop for my hobbies and the raw materials and �stuff
that might come in handy one day� out of the way.
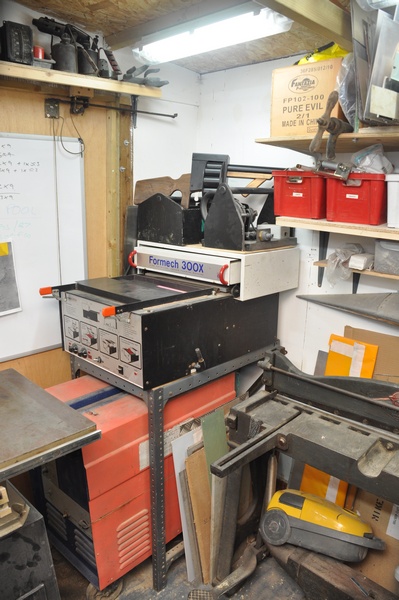
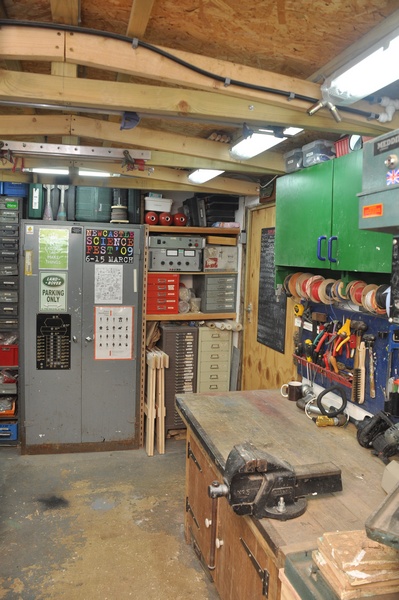
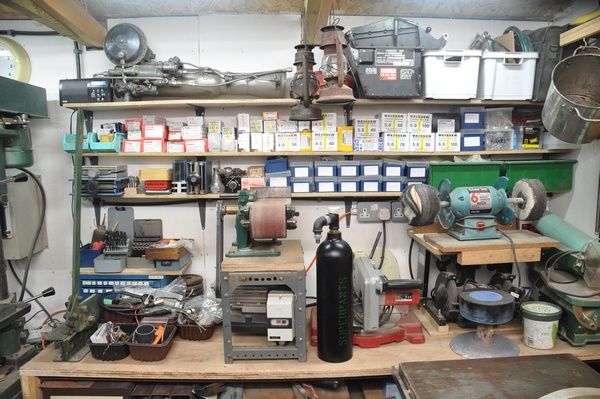
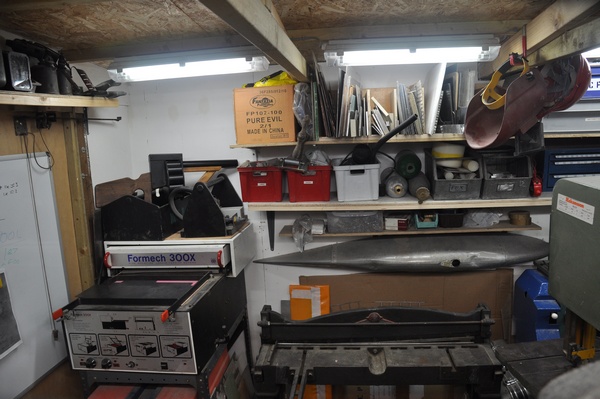
The interior
is fitted out with a wide range of benches, storage and equipment as
can be seen in the photos. Very little of this has been purchased new,
most acquired second-hand (e.g. Vacuum former, Gabro folder, Bandsaw,
Milling machine), bought from auto-jumbles (e.g. cold saw), surplus
(e.g. many hand tools, fasteners), from auctions and tender sales (e.g.
variable power supply, pillar drill), pulled out of skips (e.g.
storage drawers and dexion), blagged from friends (e.g. steel cupboard
and workbench) or rescued from a scrapyard (e.g. guillotine, welder,
anvil and swage block). A new bench has been built along part of one
wall to give working space for bench-mounted tools and a band-saw and
table saw are mounted on mobile trolleys
Lighting is from 2ft
sealed fluorescent fittings fitted between the trusses towards the
edges of the workshop. This means I don�t cast shadows over where I�m
working and I�m less likely to hit them when wielding wood than if they
were below truss height. Sealed units mean they are much easier to
keep clean.
I
have gained inspiration from a number of sources including shed of the year,
the UKWorkshop and LR4x4 Forums, books and �Shedwatch�, a Facebook
social networking group between friends who are also working on their
own shed projects, and hope in turn others may gain inspiration from
this shed.