Restoration of Hamilton Printer's Cabinet
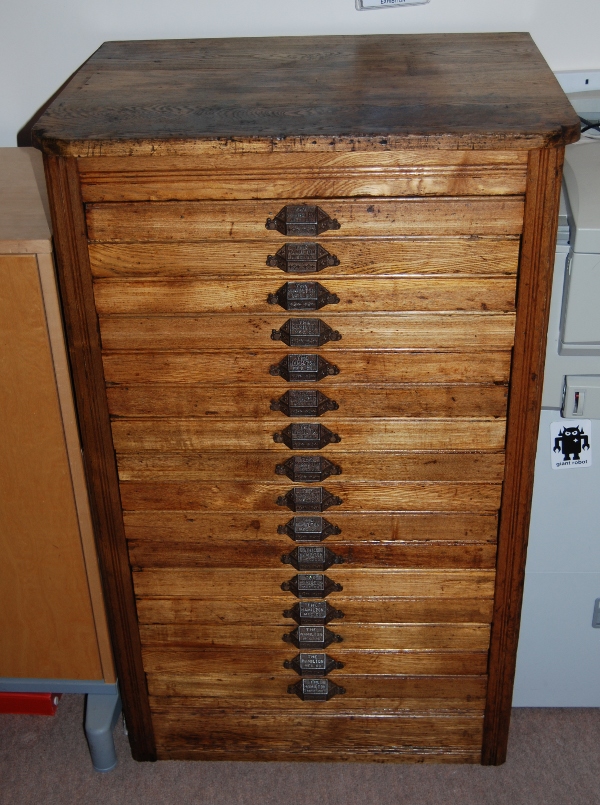
The Finished Cabinet
I
have, for some time, been looking for some kind of display cabinet with
shallow drawer to better store the odds and ends I have, in particular
various rocks and fossils I have found over the years that I wanted to
keep in a more suitable way.
I was ideally looking for an
antique piece, but none of the cabinets I found seemed to fit the bill,
especially due to their price. I had looked a bit at printers cabinets,
but unfortunately most of these are fairly large.
After some
searching, and a chance find on the web, I ended up buying a Hamilton
Printer’s cabinet from an antique dealer in Lincolnshire. The cabinet
looked fundamentally sound and complete in the photos, although very
dirty and somewhat bashed about, so I took a risk and bought it unseen.
Thankfully when it arrived it was pretty much as I expected.
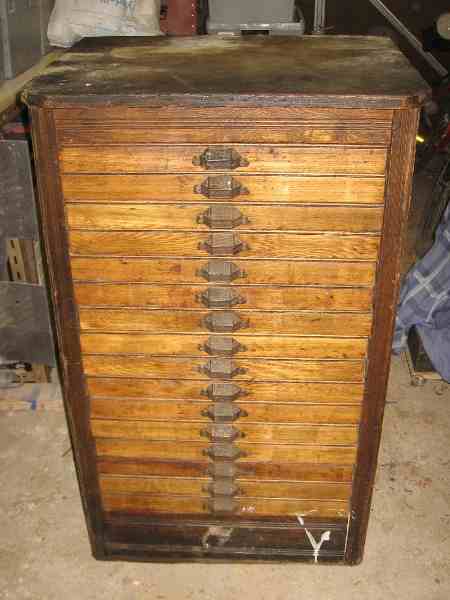

The Cabinet as it arrived
The
Hamilton Manufacturing Company were a massive supplier of printer’s
cabinets, wooden type and medical cabinets and are still in existence
under another name. A full history can be found in the links below. The
cabinet doesn’t appear to have any date marks on it, but Hamilton
started producing these items around 1890 and finished manufacturing in
timber in 1917 so it will fall in that era. The carcass and drawer
fronts appear are almost certainly oak, and the drawer runners
saplewood. I believe it to be a paper, card or form storage cabinet.
http://woodtype.org/
http://www.telephonearchive.com/dmworkshop/items/hamilton_catalog.html
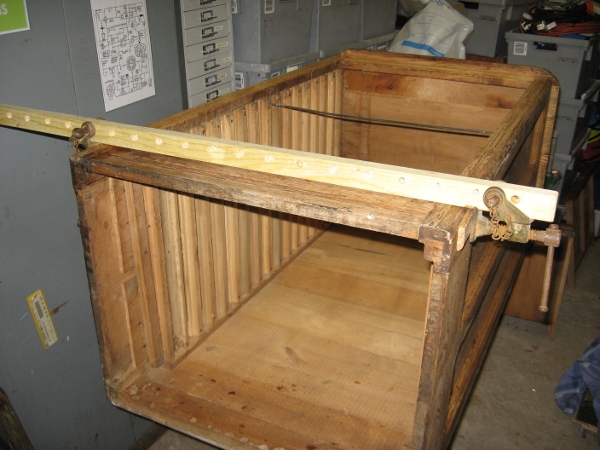
The
first physical job after doing some research was to start by removing
all the drawers. The majority of these turned out to be sound, with
just two needing some repair. The carcass could then be seen to be in a
similar condition- 2 damaged runners and two opened up joints that
would need repair. I want this cabinet to be a practical, usable piece
of furniture in my house, and so it wasn’t really possible to leave the
finish as was. As the cabinet was made around 100 years ago, there was
a very high probability that it had been finished in a shellac varnish.
This meant that stripping could be done with methylated spirits, rather
than harsher paint & varnish strippers. In turn this means less
need to use abrasives, and retention of some of the colour and patina
of the base oak. The main carcass was stripped in a few evenings work,
although I found the carcass front and drawer fronts had been
re-varnished at some time in its life, so took significantly more time
and effort to remove. This included having to use paint stripper on the
drawer fronts to remove modern varnish, followed by meths to remove the
shellac remnants.
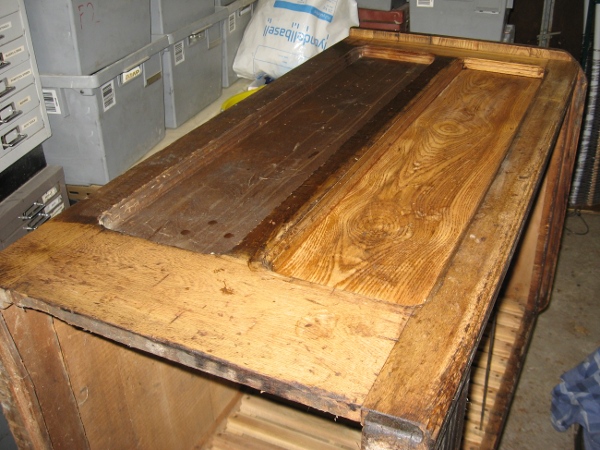
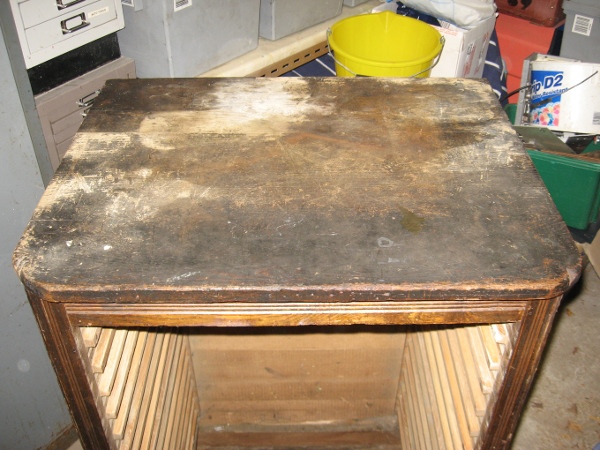
Cleaning in Progress
The next main job was to make repairs to the
cabinet. For this I used liquid hide glue so that it could easily be
removed in the future if necessary. The main tasks here were to
re-secure two mortise and tenon joints at the cabinet base and to turn
over two of the drawer runners so that a fresh running edge was
exposed. There was other damage to mouldings but i decided to not
repair these to keep the character if the cabinet, just sanding back to
smooth splintery edges where necessary.
Clamping up the cabinet
I stripped the drawer
handles back to bare metal by soaking in meths and using fine
scotch-brite and dental probes to remove the varnish, followed by a
coat of clear lacquer to protect from rust.
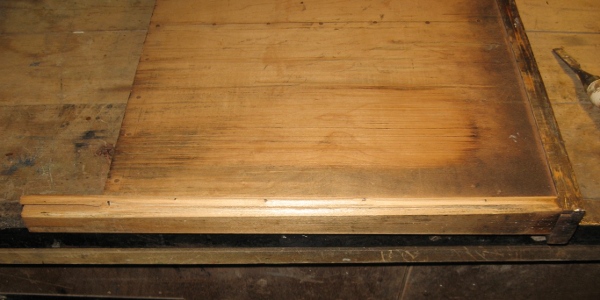
Two drawers needed
repair, both due to excessive wear and splintering on the drawer
runners. One was too bad to be repaired, but I was able to salvage
usable wood from this runner by dismantling it that could then be cut
to s strip to build up the runner on the other drawer. This left me
with one new runner to make from scratch. For this I used a length of
beech salvaged from an old settee. Unfortunately I hadn’t been able to
find a suitable piece of wood of the same type as used on the existing
drawer- I believed this to be saplewood. The beech was however a
similar colour, and well seasoned.
I sawed and planed the
plank down to the right size, routed a slot for the drawer base and
drilled new dowel holes before glueing the new side on with hide glue,
and tacking in place.
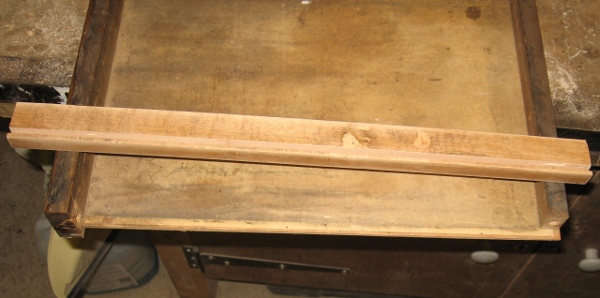
Drawer repairs in progress
Finishing was carried out by applying two
coats of French polish to all parts, ‘de-nibbed’ (very lightly sanded)
between coats followed by a polish with a good quality beeswax.
The
final thing to do is now to line the drawers, but to date I haven’t
decided what paper or fabric to use- this will be decided soon.
In
all I have ended up with a sound cabinet, fulfilling the needs I have,
and have learnt a fair amount about restoring furniture. The main thing
I’ve learnt is to not underestimate the time needed in cleaning or how
much kitchen roll is needed!